
Have you ever imagined combining the mesmerizing elements of water and fire into one stunning backyard feature? Picture a serene pool of water cradling a flickering flame, creating an entrancing and soothing atmosphere right where you live. It’s not only possible, it’s also more achievable than you might think.
The Magic Of Water And Fire: How To Create A Water Fire Pit In Your Backyard
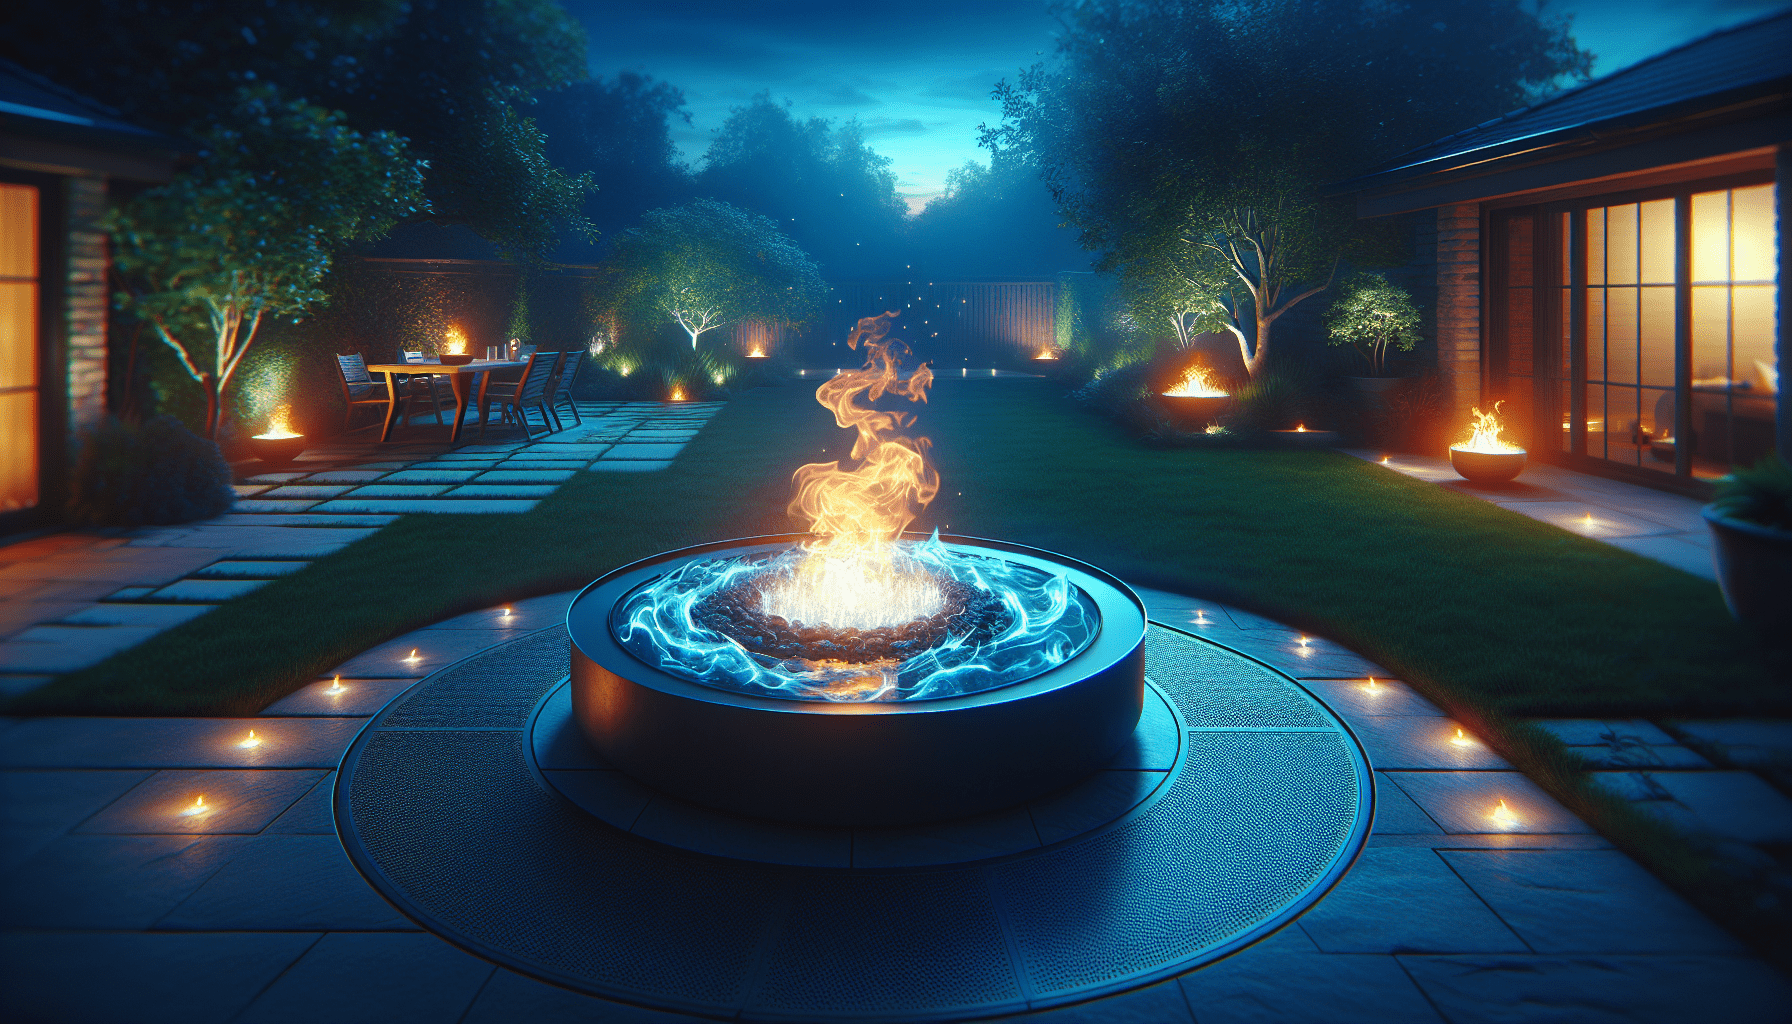
Creating a water fire pit isn’t just about adding a splash of luxury—though it certainly does that. It’s about merging two of nature’s most mesmerizing elements into an eye-catching feature that’s sure to be a conversation starter. Whether you’re looking to add a touch of elegance or create a cozy nook, a water fire pit can make your backyard a haven of relaxation and beauty.

Why Combine Water and Fire?
Combining water and fire seems counterintuitive at first, but these elements, when paired correctly, create a striking visual and sensory experience. Fire represents warmth and vitality, while water connotes tranquility and reflection. Together, they form a harmonious balance that can transform any ordinary space into something magical.
Benefits of a Water Fire Pit
Before diving into the how-to, let’s consider the perks. Here are several compelling reasons to add a water fire pit to your backyard:
| Benefit | Description |
|---|---|
| Visual Appeal | The contrast between the dancing flames and calm water surface is captivating. |
| Enhanced Ambiance | Adds a sophisticated and serene vibe to your outdoor space. |
| Year-Round Use | Provides warmth in the colder months and a cool, glistening spot in the summer. |
| Increase Property Value | Unique features like a water fire pit can boost the value of your home. |
| Social Hub | Become the go-to spot for gatherings, from casual hangouts to more formal get-togethers. |
Planning Your Water Fire Pit
Like any worthwhile project, this one requires some planning. Before you start digging or buying materials, there are a few key factors to consider.
Location, Location, Location
Where you place your water fire pit is crucial. Choose an area that is open yet relatively sheltered from strong winds, which could spread embers or disrupt the peaceful water surface. Ensure there’s enough space for seating and that the pit is easily accessible from your home.
Safety First
As you’re combining fire and water, safety should be a priority. Here’s what you need to pay attention to:
| Safety Measure | Description |
|---|---|
| Distance from Flammables | Ensure the pit is far from trees, wooden structures, and other flammable materials. |
| Stable Ground | The site should have a solid, level ground to prevent tipping or landslides. |
| Proper Ventilation | Good airflow will prevent smoke build-up and ensure safer combustion. |
| Emergency Precautions | Always have a fire extinguisher, bucket of sand, or garden hose nearby for emergencies. |
Budgeting
Your budget will greatly influence the final design and materials. Prices for water fire pits can range from a few hundred to several thousand dollars, depending on whether you go for a DIY approach or hire professionals.

Building Materials and Tools
You’ll need to gather several materials and tools before starting. Here’s a handy list for reference:
Materials Needed
- Fire Pit Bowl: Choose a durable, heat-resistant material like stainless steel or cast iron.
- Water Basin: This could be a preformed pond liner or a custom-built concrete structure.
- Pump: A small fountain pump to circulate the water.
- Fireproof Rocks or Glass: These will add to the aesthetic and safety by dispersing the flame.
- Plumbing Supplies: Tubes and connectors to ensure your pump and basin are connected properly.
- Gas Line (if using gas): Metal piping to safely deliver gas to the fire pit.
Tools Needed
- Shovel and Spade
- Level
- Drill
- Pipe Cutter
- Safety Gloves and Goggles
- Measuring Tape
Step-by-Step Guide to Create Your Water Fire Pit
Ready to get your hands dirty? Follow this comprehensive guide to create your very own water fire pit.
Step 1: Design Your Fire Pit
Begin by sketching a rough design of what you want. Think about the shape—round, square, or custom—and the size, which will depend on the available space and your budget.
Step 2: Dig and Prepare the Ground
Mark the perimeter of your water fire pit with stakes and string. Dig a hole that is a bit larger than the water basin you intend to use. You’ll need the extra space to properly secure and level the basin. Ensure the bottom is flat and stable.
Step 3: Install the Water Basin
Place your water basin into the hole and use a level to make sure it’s sitting perfectly flat. Backfill the space around the basin with soil, packing it tightly to keep the basin in place.
Step 4: Set up the Pump
Install the fountain pump inside the water basin. The pump will need to be submerged to function correctly but make sure its intake is clear of debris. Run the pump’s power cord to an outdoor electrical outlet.
Step 5: Install the Fire Pit Bowl
Center the fire pit bowl over the water basin. The bowl should be elevated above the water surface to maintain the illusion that the fire is floating. You can use metal legs or a custom-built stand to achieve the desired height.
Step 6: Connect Plumbing Components
Link the pump to any additional plumbing required to maintain water flow and circulation around the fire pit bowl. Flexible tubing is often the best choice for this, as it can be easily cut and shaped to fit.
Step 7: Add Fireproof Rocks or Glass
Surround the base of the fire pit bowl with fireproof rocks or glass. This serves two purposes: it stabilizes the bowl, and it adds an extra layer of heat dispersion.
Step 8: Install the Gas Line (if applicable)
If you are using a gas-operated fire pit, now is the time to properly install the gas line. This step may require a professional to ensure it meets all safety guidelines and regulations.
Step 9: Test Everything
Before celebrating your hard work, test the water circulation and fire elements separately. Ensure the water flows smoothly and that the fire lights safely.
Step 10: Final Touches
Add any decorative elements, such as surrounding plants or seating areas, to make your water fire pit a complete oasis.
Maintenance Tips for Longevity
The beauty of your water fire pit will only last as long as you maintain it. Here are some simple yet effective tips to ensure your pit remains in prime condition:
| Maintenance Task | Frequency | Description |
|---|---|---|
| Clean Water Basin | Monthly | Remove algae and debris to keep water clear. |
| Check Pump Functionality | Monthly | Ensure the pump is working efficiently and clear any blockages. |
| Inspect Gas Line | Quarterly (if applicable) | Look for any leaks or damage in the gas line. |
| Clean Fire Pit Bowl | After Each Use | Remove any leftover ashes or soot to keep the bowl looking new. |
| General Inspection | Seasonal | Check the entire setup for wear and tear; address any issues immediately. |
Enhancing the Experience
A water fire pit is already an incredible feature, but if you want to take it to the next level, consider these enhancements:
Seating Arrangements
Comfortable seating is essential for enjoying your water fire pit. Think about adding lounge chairs, benches, or even a cozy hammock nearby. Choose weather-resistant materials to ensure longevity.
Lighting
Enhance the ambiance with additional lighting. String lights, lanterns, or even underwater lights can add a festive and romantic touch. Solar-powered options are both eco-friendly and easy to install.
Landscaping
Surrounding your water fire pit with well-thought-out landscaping can make a significant difference. Plant some low-maintenance shrubs, flowers, or even install a small herb garden nearby to complete the look.
Accessories
Add some functional but stylish accessories like weatherproof cushions, outdoor rugs, or a coffee table. These small touches can turn your fire pit area into a true outdoor living room.
Common Mistakes to Avoid
Even with a detailed guide, some common mistakes can trip you up. Here are a few pitfalls to watch out for:
Overlooking Local Regulations
Before beginning, check your local building codes and regulations. Some areas have specific rules about open flames and outdoor water features.
Poor Ventilation
Lack of proper ventilation can lead to smoke build-up and hazardous conditions. Ensure there’s enough airflow around your fire pit.
Skipping Waterproofing
Failing to seal and waterproof your water basin can result in leaks and structural damage over time.
Inadequate Drainage
Ensure your water basin has proper drainage to prevent overflow, especially during heavy rains.
Using Inappropriate Materials
Not all materials can withstand the elements or the heat from the fire. Invest in high-quality, fire-resistant materials to ensure your fire pit lasts.
Conclusion
The magic of combining water and fire can transform your backyard into an elegant and inviting space. By carefully planning and following this guide, you can create a water fire pit that will not only beautify your surroundings but also provide a unique and unforgettable experience for you and your guests. It’s a project that, while requiring effort and attention to detail, rewards you with a truly enchanting outdoor feature.