
Have you ever thought about the magic a simple fire pit can add to your outdoor space? It’s more than just a cozy gathering spot; it can be a stunning focal point and an efficient source of heating, especially when designed in a pyramid shape. Let’s chat about how you can create and use a pyramid fire pit, making your outdoor moments even more delightful.

Why A Pyramid Fire Pit?
The Aesthetic Appeal
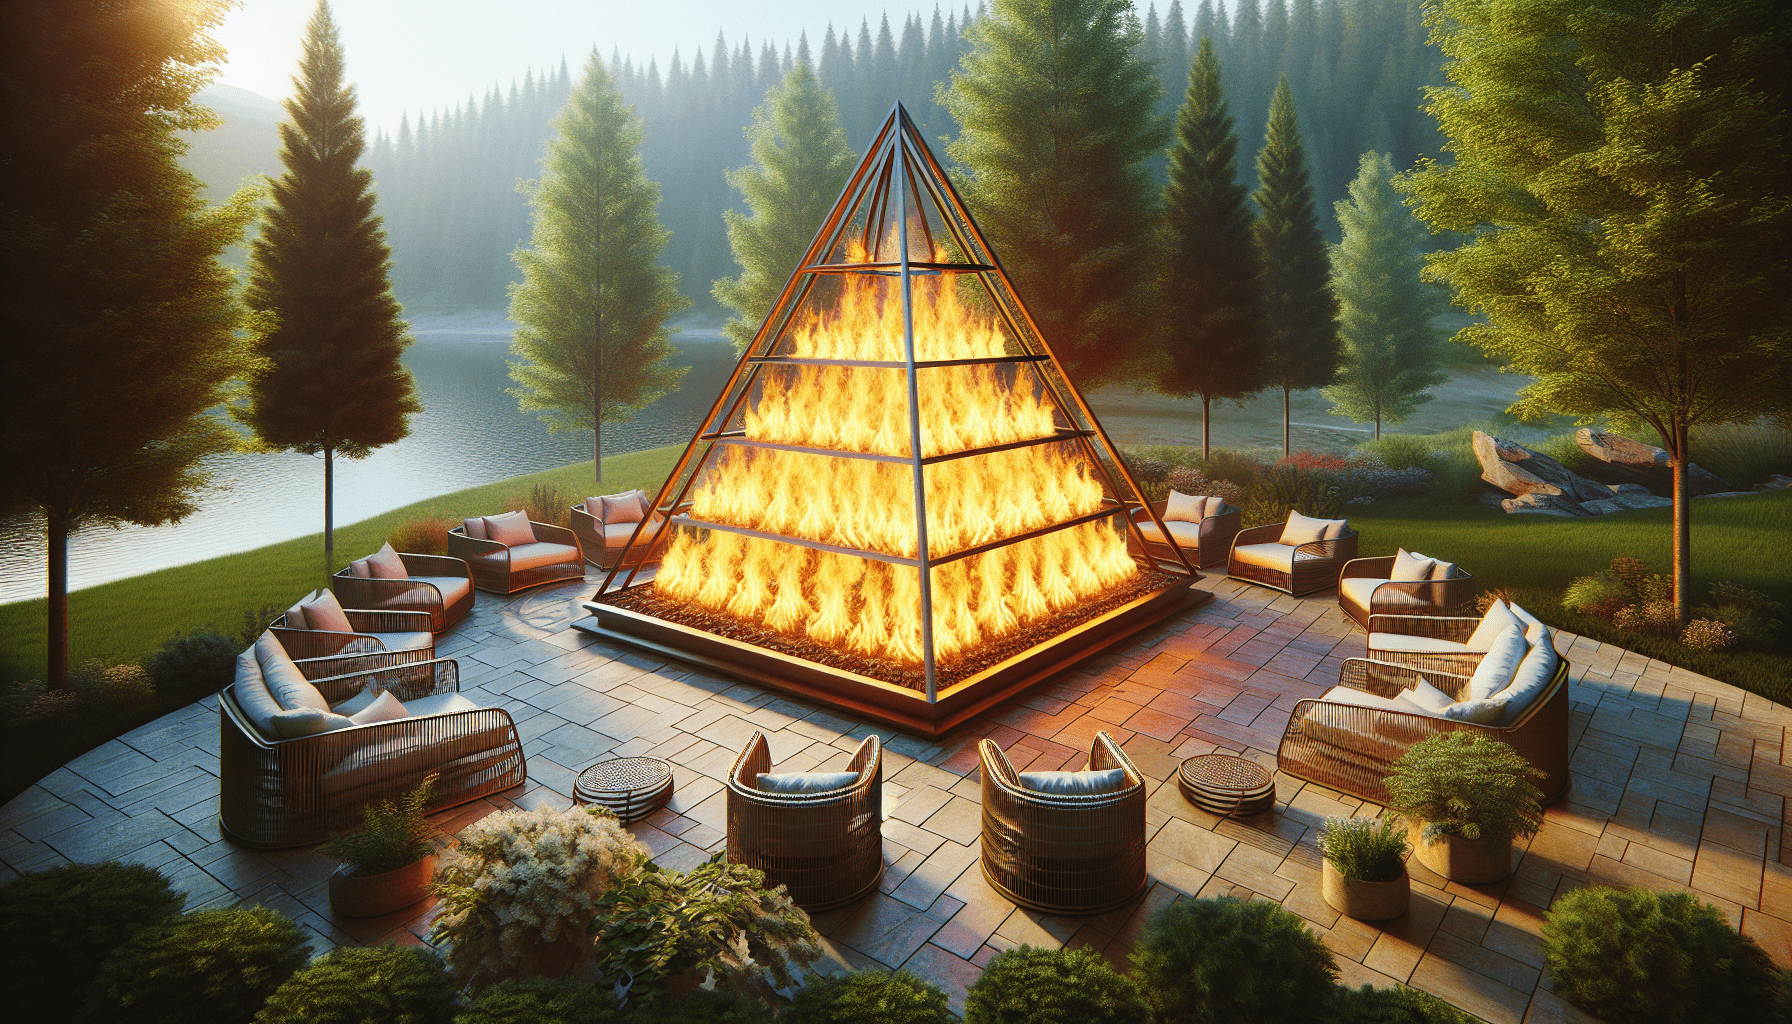
There’s something undeniably charming about a pyramid-shaped fire pit. The geometric design not only catches the eye but also blends beautifully with various outdoor decors. Picture this: a pyramid of warm, glowing embers illuminating your backyard gathering, creating a picturesque scene that spells out comfort and joy.
Efficiency in Heating
The pyramid shape isn’t just eye candy; it’s functional. The design allows for better air circulation, which ensures that the fire burns hotter and more efficiently. This translates to more heat for you and your guests, making those chilly evenings much more bearable and enjoyable.
What You Need to Get Started
Before you begin, gather all the materials and tools you’ll need. Planning ahead prevents those annoying interruptions where you halfway realize you’re missing a crucial item.
| Materials Needed | Tools Required |
|---|---|
| Fire bricks or stones | Shovel |
| High-heat mortar | Level |
| Gravel | Trowel |
| Sand | Mallet |
| Metal grate (optional, for grilling) | Gloves |
| Steel fire ring (optional) | Eye protection |
| Measuring tape |

Building Your Pyramid Fire Pit
Selecting the Perfect Spot
When choosing a location, keep safety in mind. Make sure to place your fire pit at least 10 feet away from any structures and low-hanging branches. A spot that’s level and away from high-traffic areas works best.
Laying the Foundation
- Clear the Area: Start by clearing any debris and vegetation from your chosen spot. Use your shovel to dig a shallow, circular hole, approximately 4-6 inches deep.
- Add Gravel: Fill the hole with a layer of gravel. This will help with drainage and provide a solid base.
Building the First Layer
- Outline the Base: Use your measuring tape to outline a square base. Ensure each side of the square is equal, and use the level to check that the ground is even.
- Place Fire Bricks: Lay the first row of fire bricks or stones around the outline. Use the high-heat mortar to adhere the bricks together.
- Check Alignment: Frequently check your work with the level to ensure everything is even.
Creating the Pyramid Shape
- Build Upwards: Continue adding layers, but with each one slightly inset from the layer below. This will naturally create the pyramid shape.
- Use Mortar Between Layers: Apply a thin layer of high-heat mortar between each new row of bricks to secure them in place.
- Taper Towards the Top: Gradually decrease the size of each layer as you go up. After a few layers, you will see the pyramid shape forming.
Adding the Finishing Touches
Filling the Pit
Once your pyramid shape is complete, fill the center with sand. This will provide an additional layer of heat protection and make cleaning up easier.
Optional Grill Installation
If you plan to do some cooking, consider adding a metal grate on top. This can be easily placed and removed as needed.
Using Your Pyramid Fire Pit
Igniting the Fire
To start a fire, place kindling and small logs in the center. Light the kindling and gradually add larger logs as the fire grows. The pyramid design helps the fire catch quickly due to improved airflow.
Safety Tips
- Always keep a bucket of water or a fire extinguisher nearby.
- Never leave the fire unattended.
- Use long-handled tools to manage the fire and avoid getting too close.
Maintenance and Care
Regular Cleaning
To keep your fire pit in top shape, regularly remove ash and debris. A metal scoop makes this job easier.
Checking for Damage
Inspect the fire bricks and mortar periodically for any cracks or damage. Prompt repairs will prolong the life of your fire pit.
Enjoying Your New Outdoor Feature
With your pyramid fire pit complete and ready to use, you can now look forward to countless evenings of warmth and ambiance. Whether it’s roasting marshmallows, sharing stories, or simply enjoying the glow, your new fire pit will be at the heart of many memorable gatherings.
Taking the time to build and maintain a pyramid fire pit offers more than just warmth. It adds a unique element to your outdoor space, combining functionality with aesthetic appeal. So, gather around and enjoy the fruits of your labor; there’s nothing quite like the charm of a fire pit to bring people together.