
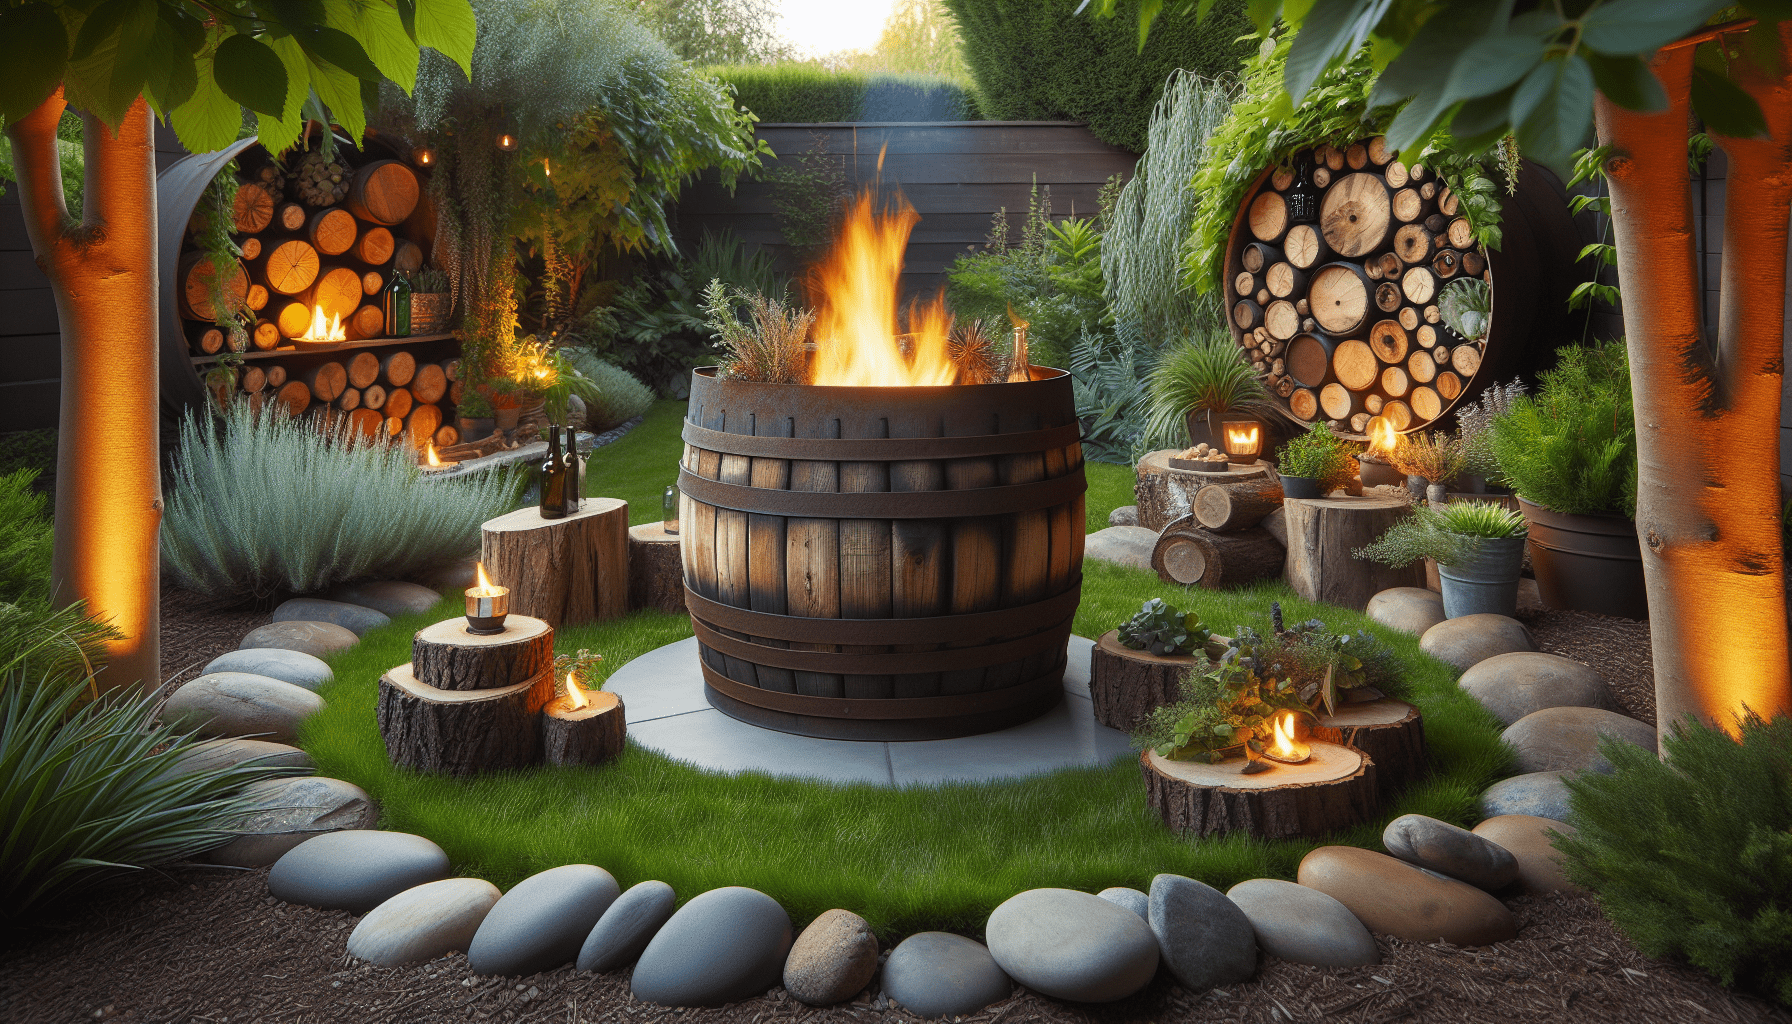
Have you ever gathered with friends and family around a crackling fire, only to wish you had a fire pit in your own backyard? Imagine cozy nights full of stories and laughter, enjoying the warmth and ambiance of your very own DIY fire pit barrel. Sound good? Let’s walk through how you can make that dream a reality.

Why Build a DIY Fire Pit Barrel?
Creating a personalized outdoor feature like a fire pit barrel can make your space more inviting and functional. Not only does it offer a spot for gatherings, but it also adds an aesthetic flair to your backyard. Additionally, a DIY project provides a sense of accomplishment and customization that you simply can’t get from purchasing a pre-made pit.
Materials and Tools
Before you start, gathering the right materials and tools is essential. This list assumes you’re starting from scratch, so adjust as needed if you already have some supplies.
Materials
| Material | Quantity |
|---|---|
| 55-gallon steel drum | 1 |
| Firebricks | As needed |
| Sand | 1 bag |
| Gravel | 1 bag |
| High-heat resistant paint | 1 can |
| Steel mesh for the bottom of the drum | As needed |
| L-shaped metal brackets | 4 |
| Anchors and concrete screws | 8 |
| Fire-resistant mortar | 1 container |
Tools
| Tool | Quantity |
|---|---|
| Angle grinder or reciprocating saw | 1 |
| Drill with metal bit | 1 |
| Adjustable wrenches | 2 |
| Safety goggles | 1 pair |
| Heavy-duty gloves | 1 pair |
| Level | 1 |
| Shovel | 1 |
| Tape measure | 1 |
| Brush for paint application | 1 |

Step-by-step Guide
Ready to get started? This step-by-step guide breaks down the process to make everything as straightforward as possible.
1. Preparing the Steel Drum
To start, find a suitable 55-gallon steel drum. Make sure it’s clean and free of any toxic residues.
- Clean the Drum: Use a degreaser and scrub the inside thoroughly to remove any residual oil and grime.
- Cut the Drum: Using an angle grinder or reciprocating saw, cut off the top of the drum. Make sure to wear safety goggles and gloves during this step to protect yourself from sparks and sharp edges.
2. Adding Ventilation
Good airflow is essential for maintaining a healthy fire.
- Drill Holes: Drill several 1-inch holes around the base of the drum to allow for adequate air circulation. Space these holes evenly.
- Secure Mesh: Attach a layer of steel mesh to the bottom of the drum using L-shaped metal brackets. This will help support the firewood while allowing ash to escape, improving airflow.
3. Preparing the Foundation
A stable and level foundation is crucial for the safety and effectiveness of your fire pit barrel.
- Dig a Hole: Use a shovel to dig a hole about 6 inches deep and slightly wider than the diameter of the drum.
- Layer Gravel and Sand: Fill the hole with gravel and then add a layer of sand on top. This will help to level out the drum and provide drainage.
4. Positioning the Drum
With the foundation prepared, it’s time to position the steel drum.
- Place the Drum: Carefully place the drum into the prepared hole.
- Check Balance: Use a level to ensure the drum is balanced properly. Adjust the sand and gravel underneath until the drum sits level.
5. Adding Firebricks
Lining the inside of the steel drum with firebricks will extend the life of your fire pit and protect it from high temperatures.
- Mix Mortar: Prepare the fire-resistant mortar according to the package instructions.
- Lay Bricks: Begin laying firebricks around the interior base of the drum in a circular pattern. Apply mortar between each brick to secure them in place.
- Build Upward: Continue stacking and mortaring bricks until you reach the top rim of the drum.
6. Painting the Exterior
Paint the external surface of the drum to protect it from rust and add a personal touch.
- Choose Paint: Select a high-heat resistant paint available in a variety of colors.
- Apply Paint: Use a brush to evenly coat the exterior of the drum. Let it dry according to the instructions on the paint can.
7. Anchoring the Fire Pit
For extra safety, anchor the drum to the ground.
- Drill Holes: Drill four evenly spaced holes around the bottom edge of the drum.
- Install Anchors: Insert anchors through the holes and into the ground. Use concrete screws to secure the anchors firmly.
Safety Considerations
A well-constructed fire pit barrel can provide a lot of enjoyment, but safety should always be your top priority.
Clear the Area
Remove Flammable Materials: Ensure that there are no flammable materials near your fire pit barrel, including overhanging tree branches and dry leaves.
Have a Water Source Ready: Always have a bucket of water or a hose nearby to extinguish the fire quickly if needed.
Inform and Monitor
Child Safety: Educate children about the dangers of fire and establish a safe zone around the fire pit. Constant adult supervision is required when there are kids around.
Extinguishing the Fire
Proper Disposal: When you’re done using the fire pit, make sure the fire is completely extinguished. Pour water over the coals and stir until you’re confident no embers are still glowing.
Maintenance Tips
Proper maintenance will ensure that your fire pit barrel remains functional and safe for years to come.
Regular Cleaning
- Remove Ashes: After each use, remove the ashes and coal remnants from the bottom of the barrel.
- Clean Mesh: Check the steel mesh for debris buildup and clean it as needed.
Inspect for Wear
- Check for Rust: Regularly inspect the drum for signs of rust. Touch up the paint as needed to keep the drum protected.
- Replace Firebricks: If any firebricks become cracked or damaged, replace them to maintain the structural integrity of the fire pit.
Enjoying Your Fire Pit Barrel
Once your DIY fire pit barrel is constructed, it’s time to enjoy it!
Seasonal Fun
Summer Nights: Roast marshmallows or hot dogs and enjoy the extended daylight. Your fire pit becomes the perfect hub for summer fun.
Autumn Evenings: As the air gets crisper, you can make the most of cool autumn evenings. Bring out the blankets, make some hot cocoa, and relish the warmth and glow of your fire pit.
Social Gatherings
Family Bonding: Gather your family for a night of storytelling or a casual cookout. Your fire pit can become a cherished family tradition.
Friendly Fun: Invite friends over for an evening of laughter and games. The ambiance of the fire pit will elevate any social gathering.
Building a DIY fire pit barrel is indeed a meaningful and rewarding project. Whether you’re looking for a focal point for social gatherings, a way to enhance your outdoor space, or simply a cozy spot to enjoy the outdoors, this project can provide all that and more. Now it’s over to you—get started and create your own magical backyard retreat!