
Have you ever wondered what it’s like to indulge in a slice of pizza that has been cooked to perfection in a wood-fired oven? The combination of smoky flavors, crackling crusts, and mouth-watering toppings creates an experience unlike any other. If that sounds enticing, you’re in the right place!

Understanding the Wood-Fired Pizza Oven
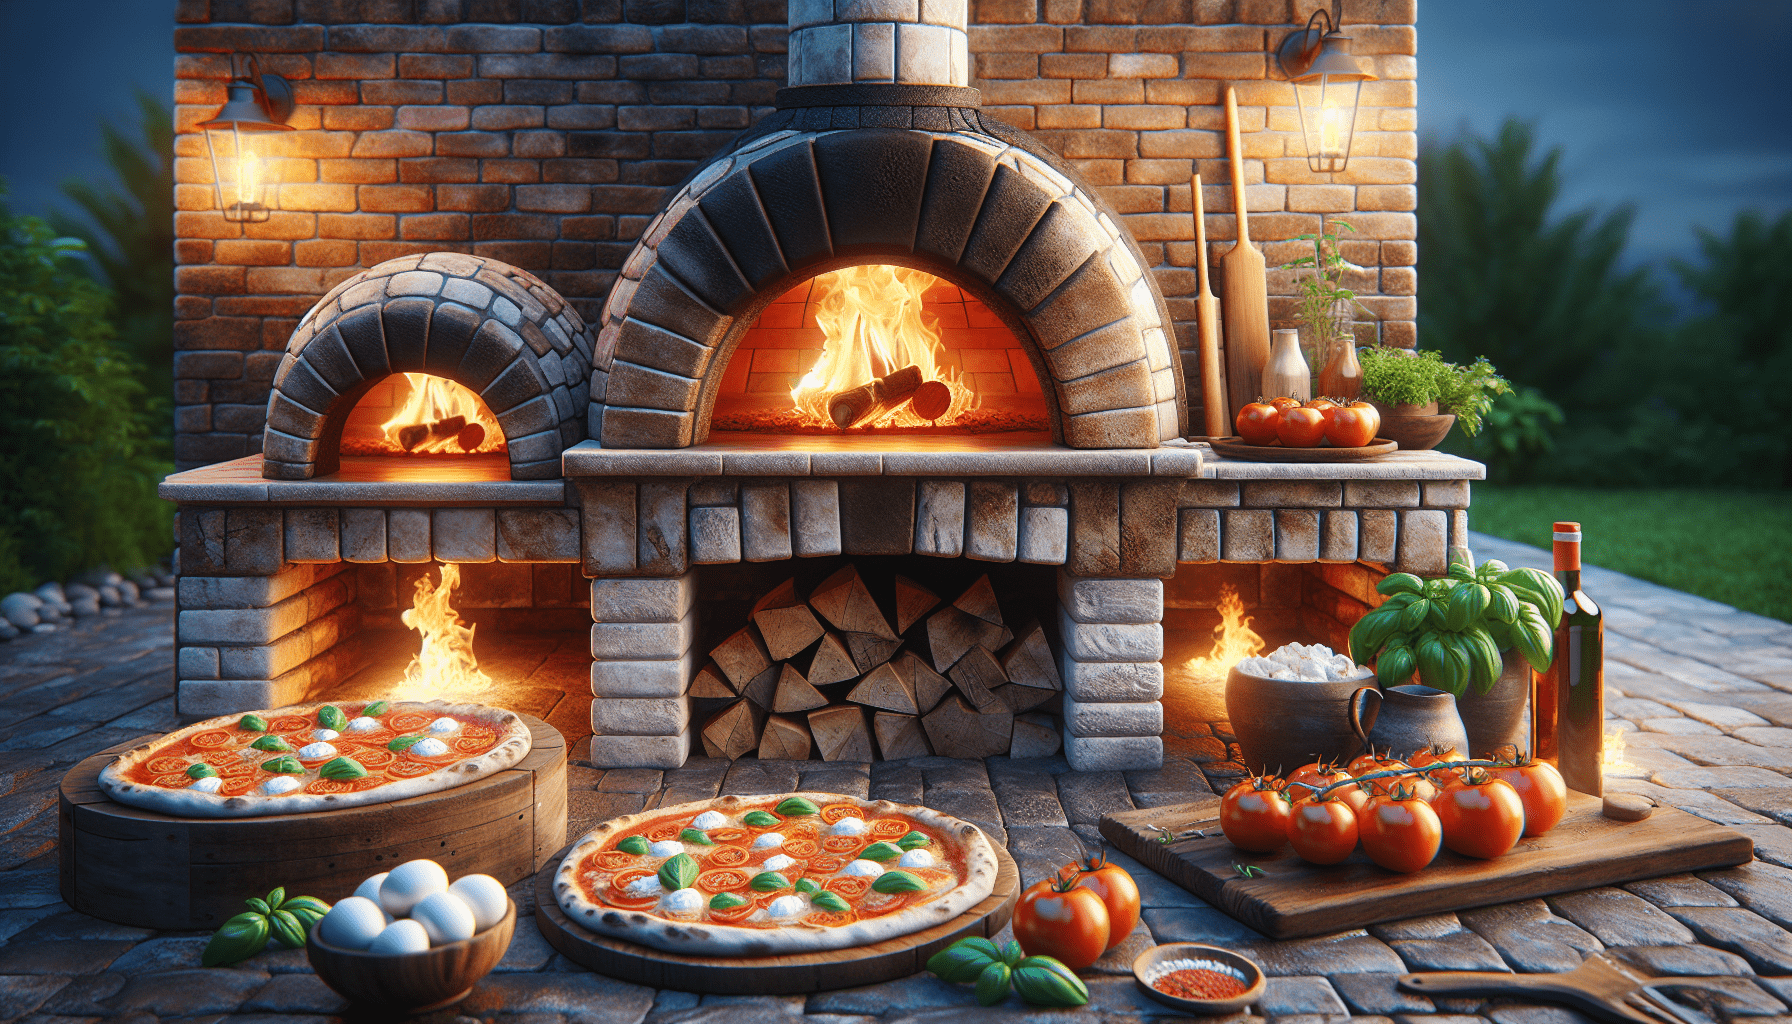
What is a Wood-Fired Pizza Oven?
A wood-fired pizza oven is a type of oven that uses wood as a fuel source. It boasts a higher cooking temperature compared to a regular gas or electric oven, which helps to achieve that quintessential crispy crust and soft, chewy center. These ovens can come in various shapes and sizes, ranging from portable models to elaborate backyard setups.
Why Use a Wood-Fired Pizza Oven?
Beyond the remarkable taste, cooking with a wood fire is a way to transform your pizza-making into a fun outdoor activity. Picture this: friends and family gathered around, laughter filling the air, while you skillfully craft pizzas that would make any Italian grandmother proud.
Preparing for Your Pizza Adventure
Choosing the Right Location
Before you get started, think about where you’ll place your wood-fired pizza oven. Ideally, it should be in an outdoor space where you have good airflow and distance from flammable objects. A flat, stable surface ensures safety while cooking.
Gather Necessary Supplies
You’ll want to gather all your ingredients and tools before starting the process. Here’s a quick list to help you prepare:
| Item | Purpose |
|---|---|
| Wood pellets or logs | Fuel for the fire |
| Kindling | To ignite the fire |
| Pizza stone | To distribute heat and achieve a crispy crust |
| Pizza peel | For transferring pizzas in and out of the oven |
| Ingredients for dough and toppings | To create your delicious pizza |
Choosing the Right Wood
Not all wood is created equal when it comes to flavor. You’ll want to use hardwoods such as oak, hickory, or maple, which burn hotter and longer. Avoid softwoods like pine, as they can impart a resinous taste that’s not ideal for cooking.
Preparing Your Dough
Making the Perfect Pizza Dough
The foundation of any great pizza starts with the dough. You can either make your own or buy pre-made dough. If you’re feeling adventurous, here’s a simple recipe:
-
Ingredients:
- 2 cups all-purpose flour
- 1 tsp salt
- 1 packet (2 ¼ tsp) yeast
- ¾ cup warm water
- 1 tbsp olive oil
-
Instructions:
- In a bowl, dissolve yeast in warm water. Let it sit for 5 minutes until frothy.
- Mix in flour, salt, and olive oil until a dough forms.
- Knead on a floured surface for about 5 minutes until smooth.
- Place in a greased bowl, cover with a damp cloth, and let rise for about 1 hour or until it has doubled in size.
Shaping Your Dough
Once your dough has risen, it’s time to shape it into pizzas. Here’s how:
- Flour Your Surface: Lightly flour your working surface to avoid sticking.
- Flatten the Dough: Using your hands, gently flatten the dough into a disc shape.
- Stretch It Out: Gradually stretch the outer edges while leaving the center slightly thicker. Try to keep the shape round, but some rustic edges add character to your pizza!

Prepping the Oven
Building Your Fire
Now that your dough is ready, it’s time to fire up your wood-fired oven. Here’s a step-by-step process to get that perfect blaze:
- Create the Base: Start by placing some crumpled newspaper or dry leaves in your oven.
- Add Kindling: Lay small sticks of kindling on top in a teepee formation.
- Light it Up: Light the newspaper and watch as the flames start to rise!
- Continue to Add Logs: Once the kindling catches, gradually add small logs and then larger pieces as the fire grows stronger.
Achieving the Right Temperature
You’ll want your oven to reach a cooking temperature of around 800°F (427°C). This may take about 30-45 minutes. Use an infrared thermometer to keep tabs on the heat. It’s essential to maintain consistent temperature to achieve that delightful crust.
Conditioning Your Oven
After the fire burns down and you’ve reached your desired temperature, push the embers to one side of the oven and allow it to stabilize for about 10 minutes. This will ensure that the heat distributes evenly across your cooking surface.
Crafting Your Pizza
Assembling Your Toppings
Here’s where the fun begins! Start with your favorite sauce and layer on ingredients. Here are some classic combinations:
| Base | Cheese | Toppings |
|---|---|---|
| Marinara | Mozzarella | Pepperoni, mushrooms, olives |
| Pesto | Goat cheese | Spinach, sun-dried tomatoes |
| White sauce | Ricotta | Chicken, artichokes, garlic |
| BBQ sauce | Cheddar | Grilled chicken, red onions |
Spreading the Sauce
Use the back of a spoon to spread your sauce evenly across the dough, leaving a little space around the edges for the crust. Don’t get too heavy-handed; a light touch usually suffices.
Adding Cheese and Toppings
Sprinkle cheese generously over the sauce, followed by your selected toppings. Feel free to get creative!
Baking Your Pizza
Using the Pizza Peel
Your pizza is assembled and the oven is primed. Now, it’s time to use the pizza peel, which is a must-have for transferring your pizza.
- Transfer the Pizza: Dust your pizza peel with flour to prevent sticking, and gently slide the pizza onto the peel.
- Launching into the Oven: With a quick, confident motion, slide your pizza off the peel and into the oven.
Monitoring the Cooking Process
Keep a close eye on your pizza as it cooks. Typically, it takes about 60 to 90 seconds for the pizza to be done. You’ll want to rotate it halfway through for even cooking.
Enjoying Your Creation
Checking for Doneness
When your pizza is bubbling, and the crust is beautifully charred, it’s time to take it out. Use the pizza peel to carefully lift the pizza from the oven.
Let It Cool, Slicing, and Serving
Once out, let the pizza sit for a minute before slicing—this allows the cheese to set slightly. Cut it into wedges, and serve it hot! Don’t forget to share with your friends!
Cleaning and Maintaining Your Wood-Fired Oven
Cool Down Time
After you’ve delighted in your homemade pizzas, it’s important to let the oven cool down completely. Doing this will help prevent damage to your oven.
Cleaning Process
- Remove Ashes: Once cooled, scrape out the remaining ashes using a metal shovel.
- Wipe the Interior: Use a damp cloth to wipe down the interior surfaces.
- Inspect for Damage: Regularly check for any cracks or issues that may need addressing.
Seasonal Maintenance
If you plan on using your pizza oven only during certain seasons, make sure to cover it or store it properly to keep it in good condition.
Conclusion
Using a wood-fired pizza oven is not merely about cooking; it’s about creating a delightful experience. Whether you’re gathering with friends, hosting a party, or simply enjoying a quiet evening, the joy of crafting your own pizza adds to the occasion.
Now that you have a step-by-step guide, it’s time to light the fire, make the dough, and ultimately take a bite of your own homemade masterpiece! What are you waiting for? Get your apron on, gather your ingredients, and invite some friends to enjoy your culinary adventure in using a wood-fired pizza oven!